One week per batch of probes
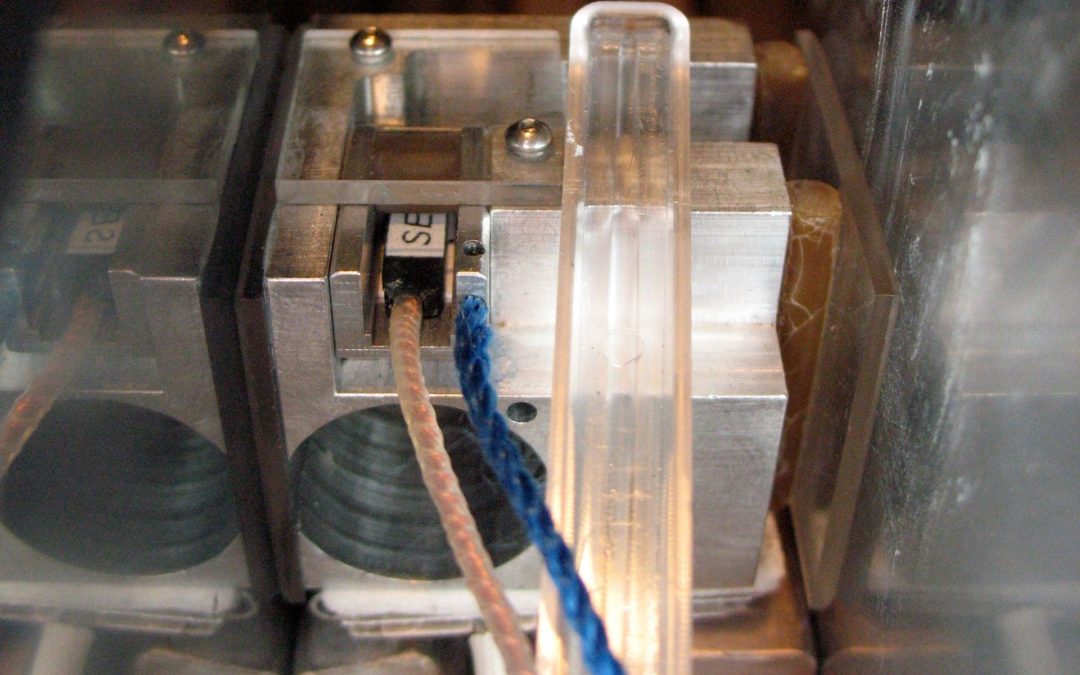
Take the standard HF probe. Put it in a zero Gauss chamber to correct the offset, then run a series of measurements checked by an NMR probe in a reference electromagnet – Metrolab’s goes up to 1.6 T – to cover the entire range of fields along the x-axis. Then turn the probe in the jig and do the same along the y and then z axes: you will have enough measurements to correct the offset, gain and nonlinearity. Now heat the jig, wait for the measurement to stabilise and repeat the whole process to correct for temperature variations. Well done. You’re one-third of the way through. Once the data have been acquired, the software takes over, calculating the necessary adjustments and sending them back to the probe. You can now repeat all the measurements for the crucial test phase! “The process is fine-tuned now, and for a batch of 20 probes it takes about a week to complete,” says Metrolab’s calibration specialist Jacques Tinembart. During which time you will have paid a short visit to a private clinic in Geneva, not for a checkup but because calibrating HF probes requires 3 T measurements – in other words, a superconducting MRI magnet. All these measurements, traceable for each probe, represent several megabytes of data.
 Exploring new avenues
Developing these acquisition and calculation programs for each type of probe is of course a key factor in Metrolab’s success. But the challenge is also mechanical: designing the positioning jigs is of critical importance and keeps the brain cells busy. As for the development of the LF probe, it forced the team to explore new avenues. No NMR measurements here, currently out of the question with low fields; instead, calibration with an AC field, using as a reference a calibrated coil and voltage integrator. Using a 20 Hz alternating current allows the entire measurement range to be covered in 50 ms! However, developing the entirely new software proved to be particularly difficult.
Re-calibration: how to proceed
Anyway, your Hall probes are now properly calibrated. But you are not out of the woods yet. To ensure their long-term accuracy, the probes have to be calibrated regularly! The offset should be checked before each serious measurement, just as you would adjust a pair of scales. “A zero Gauss chamber is supplied with each Metrolab probe for this purpose”, recalls Philip Keller. And the entire calibration process needs to be repeated to counter the other physical effects: “Each client is free to establish his own schedule, based on his needs, but we recommend an 18-month calibration interval.” Of course, Metrolab provides this service on demand. To optimise its cost, four calibration “slots” per year have been allocated – the dates are in the product manual.
And tomorrow, ±0.1% accuracy?
Looking ahead, Metrolab’s immediate goal is to be able to calibrate HF probes beyond 3 T – which would extend their optimum working range correspondingly. “To do this, we are working on a jig adapted to measurements in small-bore, superconducting high-field magnets“, indicates Philip Keller.
But Metrolab’s next big challenge is achieving ±0.1% accuracy with a 3-axis Hallteslameter. That will require a new sensor and electronics with a correspondingly lower noise floor… and very demanding calibration work. “The measurements have to be taken, not just along the principal axes (X, Y, Z), but at many angles covering the entire sphere“, explains Philip Keller. This allows angle-dependent errors (see diagram) to be corrected by a deconvolution process, even those that introduce crosstalk amongst the three axes, such as the Planar Hall Effect. “In addition, to correct for temperature nonlinearities, we need to measure not just at two temperatures, but at many temperatures covering the operational range.” The problem has been solved by CERN physicist Felix Bergsma, who has developed a device with which he has calibrated many hundreds of 3-axis Hall probes for CERN’s ATLAS experiment. Metrolab’s goal is to bring similar technology to the market in a fully industrialized instrument. That would represent a major step forward… and cover many research applications!

